Windows 10 login with two factor authentication using a YubiKey
I needed to enable two factor authentication on a Windows account. Natively, this can’t yet be done (Windows Hello is not 2FS, but that’s another story). I decided to try and set this up using Yubico’s YubiKey 5. If it worked, this would mean that, unless the YubiKey is inserted into one of the USB slots on the computer, logging in to the admin account will fail, even if the correct username and password is used.
I followed the Yubico instructions and there was a gotcha – so I decided to do my own.
According to the Yubico website, Yubikey 5 is not compatible with their Windows Hello app, so I needed to use the Windows Login tool. The link took me to the “Windows Logon Tool & Configuration Guide” page. This linked to the “YubiKey Windows Logon Configuration Guide” and to the various computer login tools. Although this page says that the “Microsoft Windows Logon” tool has been deprecated and that a new tool will be coming soon, Yubico were unable to tell me when the new tool would be available, so I tried the deprecated tool. This worked (with one gotcha) so I thought I’d document it here.
The “YubiKey Windows Login Configuration Guide” states that the following is needed.
- Two YubiKeys with firmware version 2.2 or later (one will be used as a backup YubiKey)
- The YubiKey Personalization Tool (downloaded from the Yubico website for configuring your YubiKeys for challenge-response authentication with HMAC-SHA1). This is available from the “YubiKey Personalization Tools” page by clicking on the “Microsoft Windows Download” link
- A local (not a cloud or domain) account on Microsoft Windows 7, 8, or 10 (32-bit or 64-bit) with administrator privileges. I’m using Windows 10 Pro.
- YubiKey Windows Login software (downloaded from the Yubico website, which includes YubiKey Logon Administration and the YubiKey Client API). This is available from the “Computer Logon Tools” page by clicking on the “Microsoft Windows Logon (Deprecated)” link
- Microsoft .NET Framework 4.0 installed
Installing the YubiKey Personalization Tool
First off the YubiKey Personalization Tool needs to be installed. This is needed to configure the YubiKeys for challenge-response authentication using HMAC-SHA1. Note this only needs to be done once. If you’ve already configured your YubiKeys, skip this bit. Reinitialising the YubiKeys can leave you unable to log in to a YubiKey protected account.
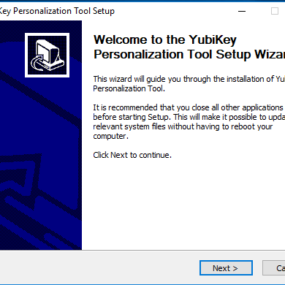
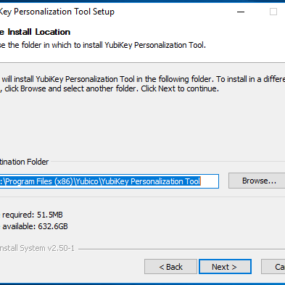
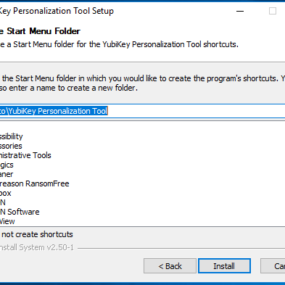
To install the YubiKey Personalization Tool
- Download the latest version of the YubiKey Personalization Tool from the Yubico website for by clicking on the “Microsoft Windows Download” link
- Double click on the yubikey-personalization-gui-x.x.x file and complete the installation wizard
Configuring Two YubiKeys with the Same Secret Key
I configured two YubiKeys to use the challenge-response authentication mode with HMAC-SHA1 algorithm – one for use and one as a backup. For multiple YubiKeys to work with the same Windows login, they need to be configured with the same secret key. The YubiKey Personalization Tool can be used to configure each YubiKeys with the same secret key.
- Insert a YubiKey into a USB port of your computer.
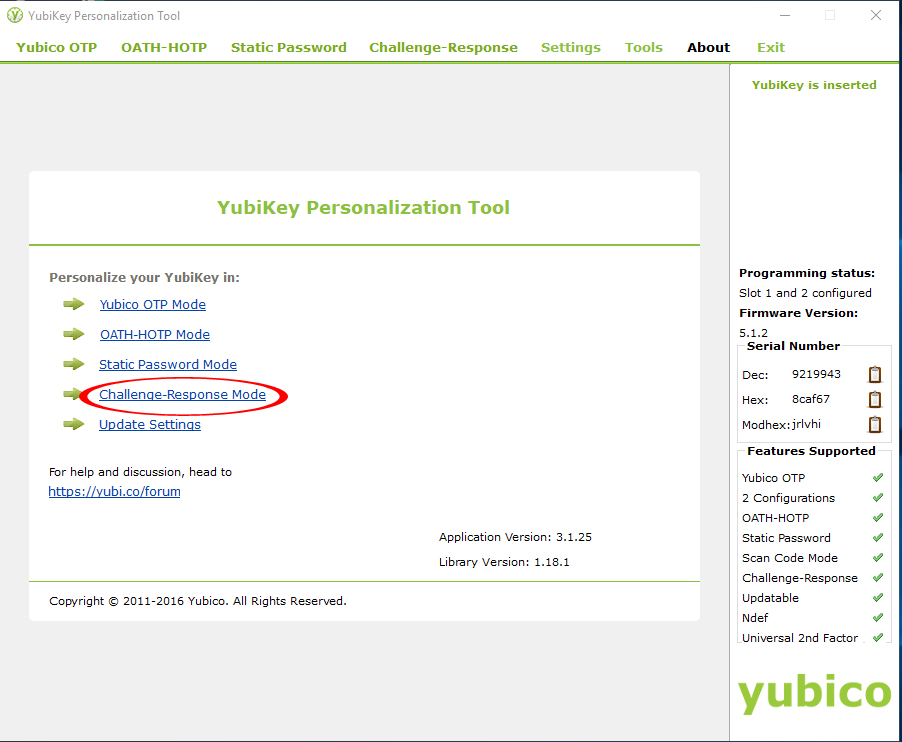
- Launch the YubiKey Personalization Tool.
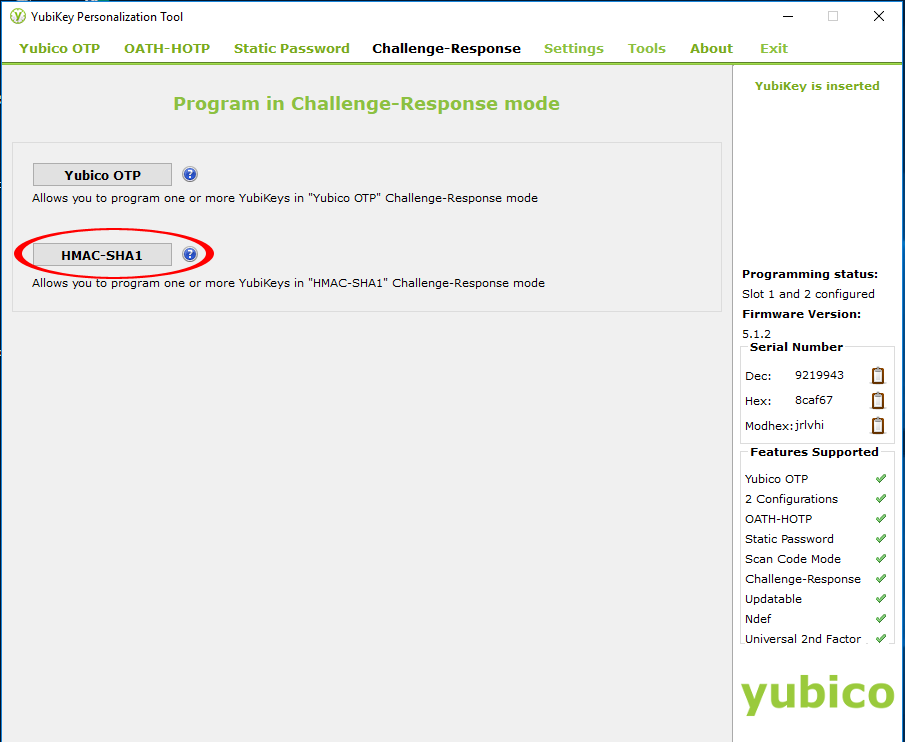
- Click Challenge-Response
- Click HMAC-SHA1
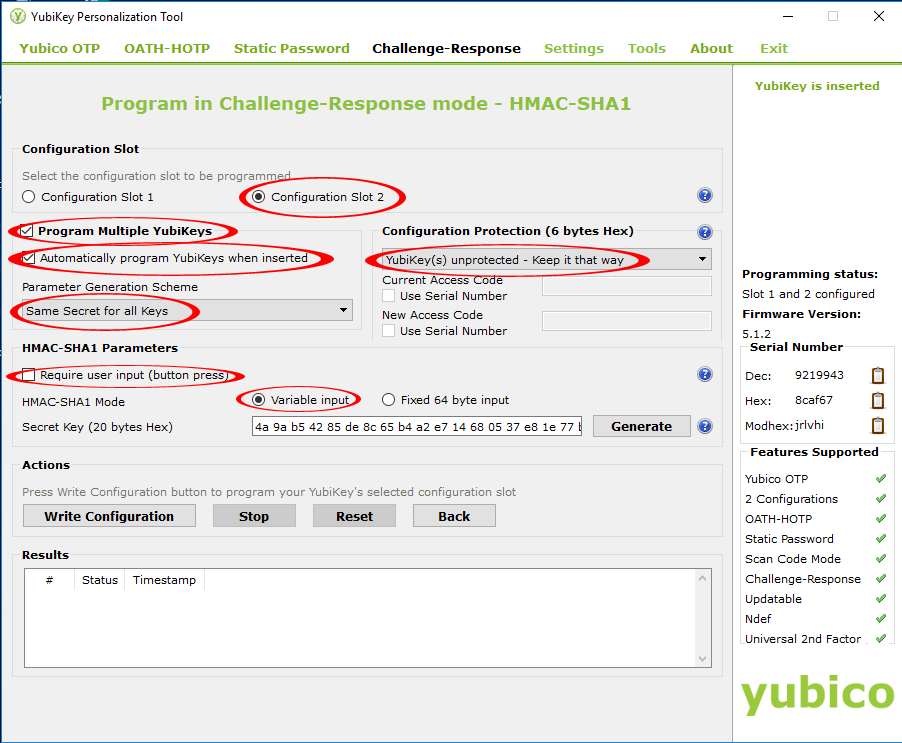
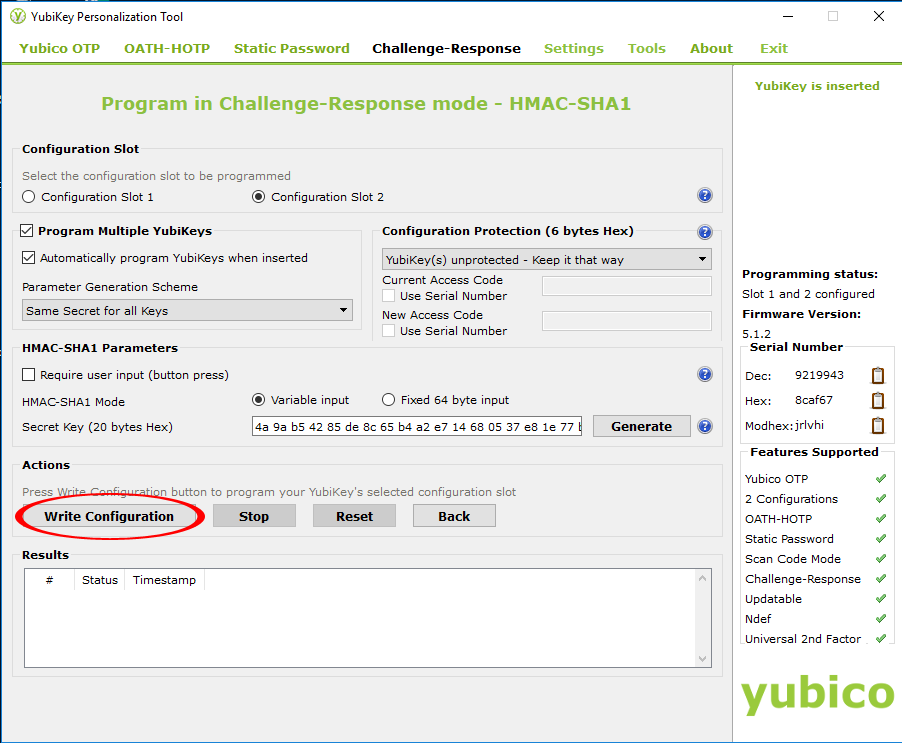
- In the Configuration Slot group, select Configuration Slot 2.
- Select Program Multiple YubiKeys and Automatically program YubiKeys when inserted – this will allow the programming of the backup YubiKey
- In the Parameter Generation Scheme group, select Same Secret for all Keys.
- In the Configuration Protection group ensure that “YubiKey(s) unprotected – Keep it that way” is selected
- In the HMAC-SHA1 Parameters group, select the following options:
- Be sure that Require user input is not selected.
- For HMAC-SHA1 Mode, select Variable input
To create the Secret Key, click Generate
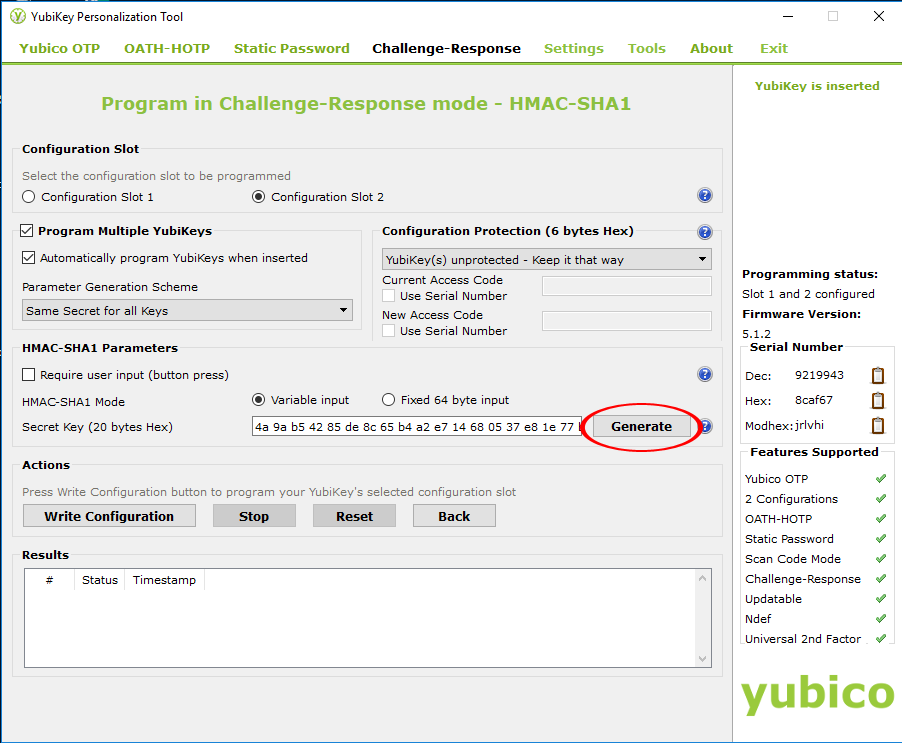
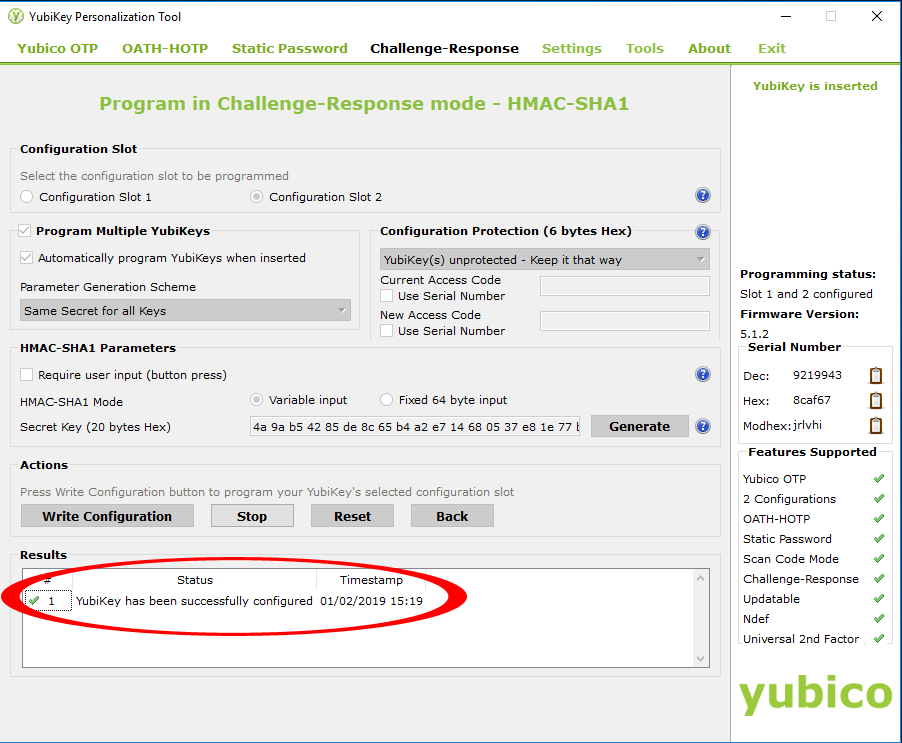
From the Actions group, click Write Configuration. This will now configure the YubiKey for challenge-response in HMAC-SHA1 mode for use with YubiKey Windows Login.
Save configuration_log.csv somewhere to inspect later (or not – it’s pretty unintelligible).
Check in the “Results” box that the message “YubiKey has been successfully configured” is displayed
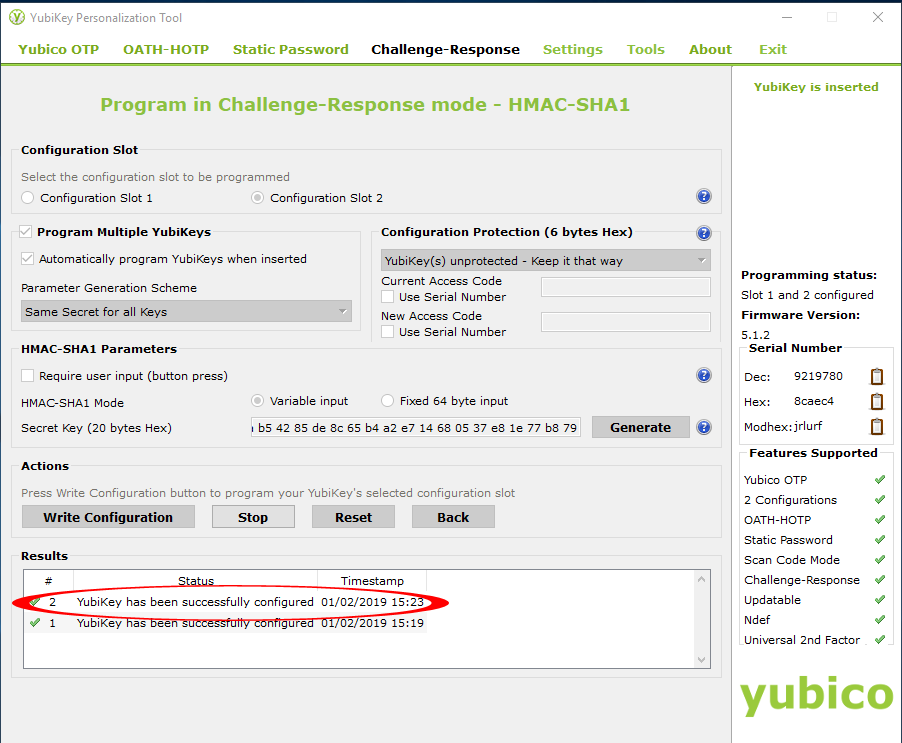
Program the second key by removing the first one and inserting the second into the same USB port. Check again for the “YubiKey has been successfully configured” message
Finally click “Stop” and close the YubiKey Personalization Tool
Setting up 2 Factor Authentication
- Download the latest version of YubiKey Windows Login from the Yubico “Computer Logon Tools” page by clicking on “Microsoft Windows Logon”. Save the file to your desktop
- Double-click the downloaded fie, yubico-windows-auth.exe, and then click Run.
- In the YubiKey Logon Installer:
- Accept the defaults for the YubiKey Logon Installer, including instructions for installing required additional programs, such as the YubiKey Client COM API, if needed. NOTE: The Installer for YubiKey Windows Login automatically downloads and installs the selected supporting components
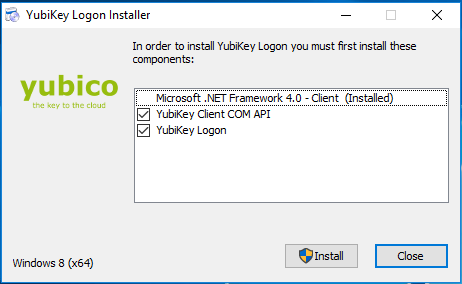
- Click Install.
- Accept the defaults for the YubiKey Logon Installer, including instructions for installing required additional programs, such as the YubiKey Client COM API, if needed. NOTE: The Installer for YubiKey Windows Login automatically downloads and installs the selected supporting components
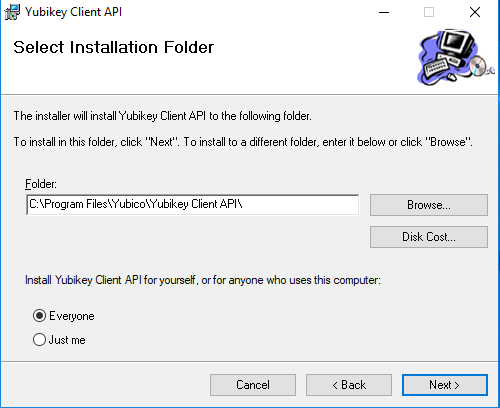
I chose to install the YubiKey Client API for everyone (the default is “Just Me”) 10.png
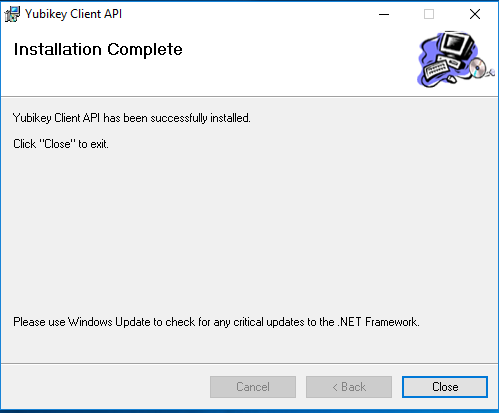
When the Client API installation finishes, it suggests checking for any critical updates to the .NET framework 11.png
Finally the YubiKey Login installation completes
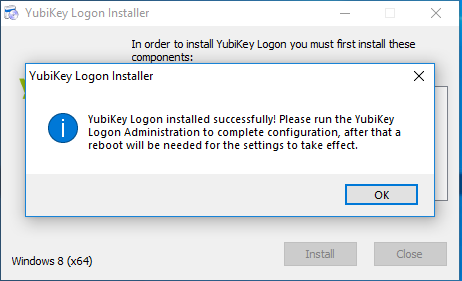
Run the “YubiKey Logon Administration” program
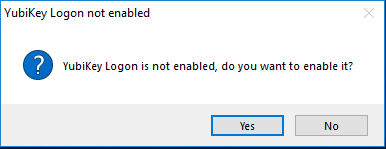
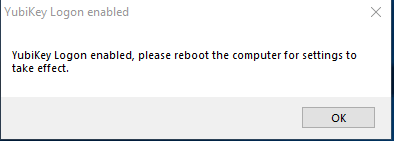
Click “Yes” when prompted to enable YubiKey login and then it’ll tell you to reboot the computer.
You’ll also see the “YubiKey Login Administrator” window. DO NOT CLICK ON “Enable” YET – otherwise you’ll not be able to log in after the reboot (there’s the gotcha!)
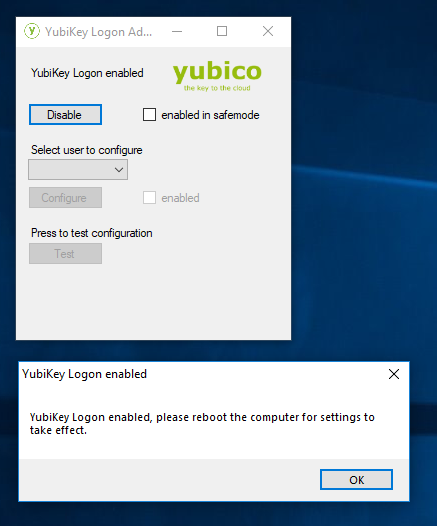
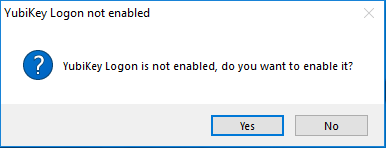
Once you have rebooted, start the “YubiKey Login Administration” tool. You’ll be prompted to enable YubiKey Login
Click “Yes”. It’ll ask you to reboot for the settings to take effect. Click “OK” and reboot
Once again start the “YubiKey Login Administration”
You will now see the “YubiKey Login Administrator” window. Insert the first YubiKey into a USB port. In the drop down, select the user to configure, click on “Configure” and make sure you get a success message. Click “No” for enabling for this user.
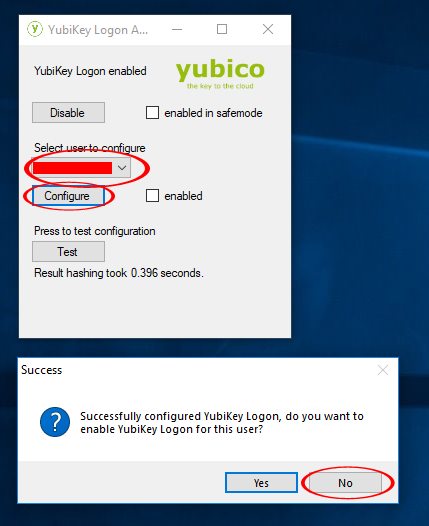
Click “Test” to make sure you get “Correct response” message
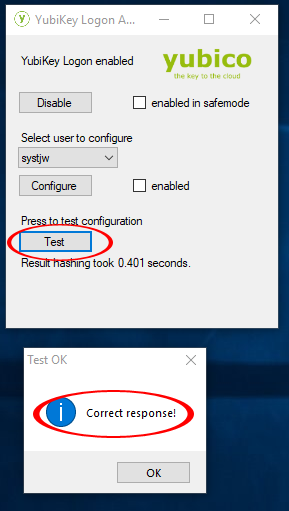
Repeat for the second YubiKey and then check “enabled” and close the “YubiKey Login Administrator”. You will now need the YubiKey to log in.
Test it by rebooting the computer.
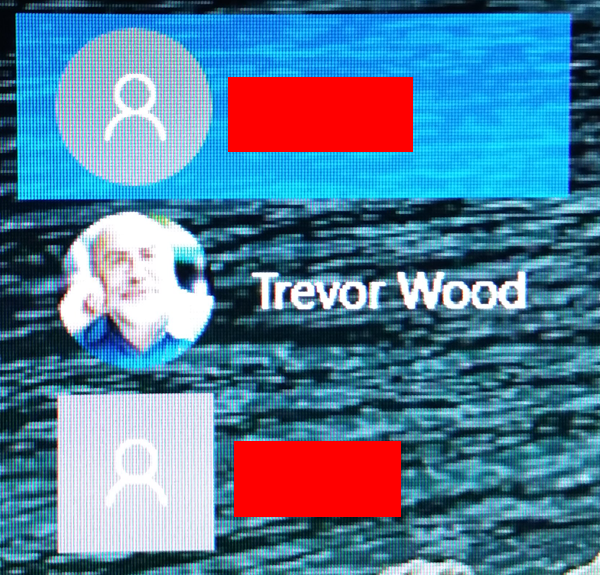
When you reboot, you’ll find that the username that you’ve enabled with YubiKey is repeated twice.This is a bug with the software and Yubico know about it – it should be fixed in the next release
Further help – including how to disable and remove YubiKey, can be found in the YubiKey Windows Logon Configuration Guide


THANK YOU. THANK YOU.